
Previous post

Next post

Q-tips ✅
Paint ✅
Cardstock Easter egg cutouts ✅
That is ALL you’ll need for this project 🙌

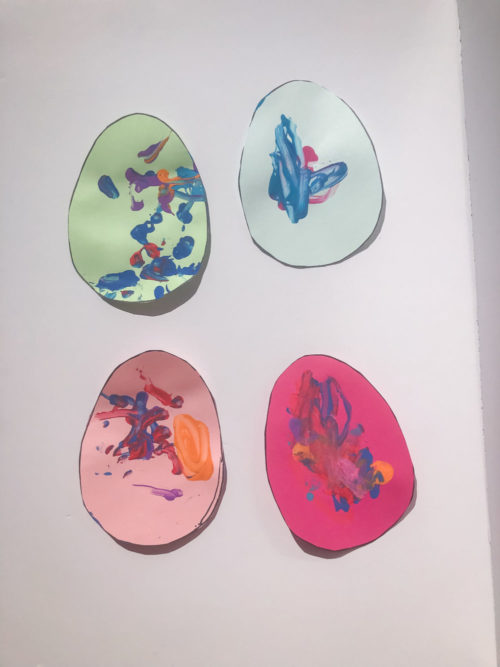
I started by cutting out egg shapes from cardstock in a few pastel colors. And setting it out with some paint and q-tips. I wanted to see how the boys used the materials I gave them before adding anything else (although, I so wanted to put out an endless supply of buttons and rhinestones and beads to bling it out some 😅)

I didn’t know how they would feel about the q-tips, especially Brixton (4.5). He’s a creature of habit, and really isn’t a big fan of me switching out basic supplies for alternates. So I was worried he’d give up and bail before we ever got started. But I was really surprised that he picked it up right away and went to painting. He really prefers to have clean, distinct lines and is just starting to experiment with mixing colors, and I think this was just the right scale for him to practice with.

Everett (19mo) worked on his fine motor skills – holding those q-tips requires a lot of concentration! He ended up with more paint on HIM than the eggs, but isn’t that the fun of it all?? He eventually ditched the q-tips in favor of full hand painting, but thoroughly enjoyed himself, so who am I to complain. It’s washable paint anyway 🤷♀️

Colston (3) is my little artist and is the one who enjoyed this project waaay more than the other two. Combined.
He started out with two eggs, and then as his brothers eventually moved on, he took over and finished off 6 or 7! This entertained him for close to 2 hours total of off and on play and creating.

Have you tried q-tip painting? If you do, we’d love to see! Tag us on Instagram @thebplusmama and give us a follow to see what we’re up to on a day-to-day basis!


Leave a Reply